
Review the part 1
In the first part, we faced some terminology and two small snippets of code. Those snippets were our 'Hello World' example. In this time, we will configure the environment to be able to play with VueJS and put the previous code into practice,
How can we set the environment?
The easiest way to set up the environment is to install NodeJs first after that you need to install vue-cli. Installing Node is a straightforward process. Go to the download page of NodeJS select the package that suits to your operating system and install it. (On Linux you can do it from the terminal, but you will have to make sure to have the latest version. ) We will use 'npm' which is the inbuilt package manager of NodeJs, but we need to update it after installing because it is updated more frequently than NodeJS itself. After the installation of the NodeJS, you should launch the command line (Windows CMD, Powershell, Linux terminal) and type the following commands. node -v You should see the version of the NodeJS. Now we need to update the npm globally that is what '-g' means. npm install npm -g Okay, now lets check our version to see it works correctly. npm -v
I suppose everything was all right so let's install vue-cli npm install vue-cli -g
Now let's get ready to rumble!
Initialize the default application
We already installed the needed packages to have the environment. Now to initialize our first default application, we need to create a folder where we are going to place all our Vue application. So let's create our Vue root folder wherever you like. Open up a Terminal, CMD or PowerShell and locate the newly created Vue root folder and go inside that directory. Type the command below: vue init webpack-simple [folder_name]
- It will create a folder inside your Vue root folder
- The name of the folder will be the passed argument to the command.
- The command will download several packages, and it will take a few seconds
- The running the command will finish when it asks you to type the Project Name.
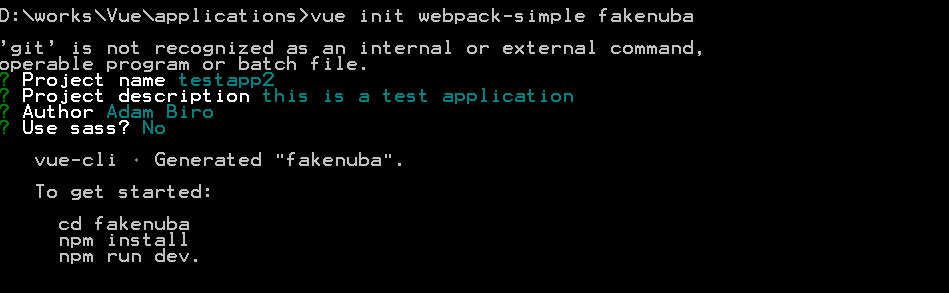
You can leave it blank, but then the name of the project will be the same as the name of the folder. Anyway, it is pretty straightforward. You will have to answer some extra questions which I leave with you with the screenshot above.
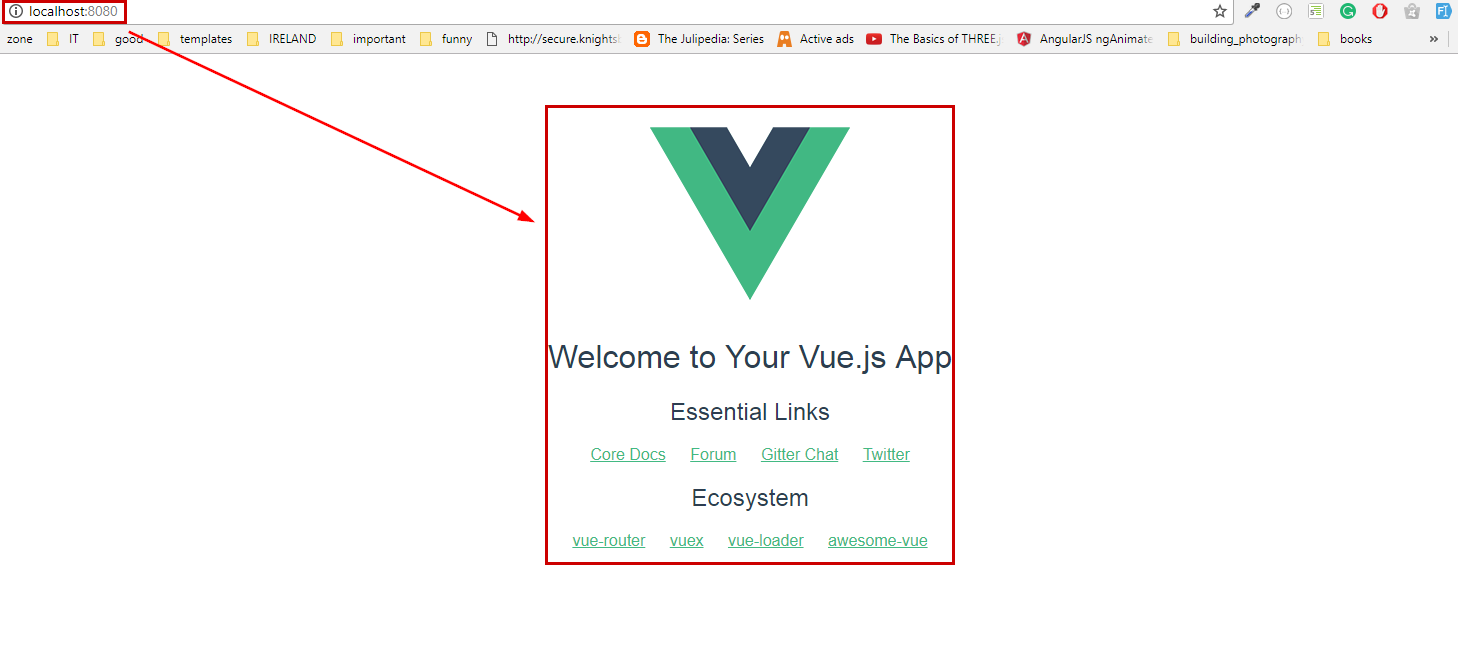
To run the default application you need to enter into the project directory and run the commands but all these hints are shown when the script finished running. Run the command: npm install It will install the dependencies to your project. Finally, you need to run the inbuilt development server with the following command: npm run dev This command will run the NPM development server, and it will open your default browser with the initialized application under localhost:8080.
Now, if you open your project folder, you will see two directories (folders) src, node_modules. The best way to learn how Vue works, if we start from scratch. So let's delete the entire src folder and recreate our empty one. Now let's create a new main.js file in the src folder and insert the first snippet from the previous part of the series.
import Vue from 'vue'

var app = new Vue({
  el: '#app',
  data: {
    message: 'Hello Vue!'
  }
})
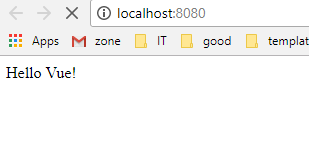
As you can see, there is one extra line, and that is the first one. The reason of that we need to import the Vue object source to create a new instance with the new keyword. Now if you open the index.html file and pass the property inside the div id=app we will get the message result.
Summary
In this part, we configured the environment and launched our example code. In the next parts, I would like to summarize the essential information to have the necessary knowledge to start working with Vue.js